How To Use A Stethoscope: 6 Easy Steps for 2024
Being able to properly use a stethoscope is a fundamental skill for any healthcare worker. If you’re a medical student or a seasoned professional, understanding how to use this essential tool is critical in assessing a patient’s health status. But don’t worry, it’s not rocket science.
In this article, we’ll go through six easy steps that will guide you through the process of using a stethoscope accurately. No matter your level of experience, these tips will help you hone your abilities and ensure you provide the best possible care for your patients. So let’s get started! Here is the article on
How to use a stethoscope: 6 Easy Steps for 2024.
What is a stethoscope?
A stethoscope is a medical device that allows healthcare professionals to listen to the sounds produced by the body.
It is commonly used to monitor and diagnose a wide array of medical conditions. A stethoscope can detect abnormal heart sounds, such as murmurs or an irregular heartbeat, abnormal bowel sounds, as well as listening to lung sounds, and checking blood pressure readings.
The stethoscope works by amplifying and transmitting sound waves through the tubing to the healthcare professional’s ears. With the sound transmission ability of the stethoscope, healthcare professionals can have a better understanding of what is happening inside our bodies.
Different parts of a stethoscope.
A stethoscope consists of several components, each serving a specific function.
Ear tips: these are the ear pieces that fit into your ears.
Ear Tubes: also called the headset, is the part that connects the earpieces to the tubing.
Bell: The bell is the smaller side of the chest piece which is commonly used for low-frequency sounds like bruits and some bowel sounds.
Diaphragm: The diaphragm is the larger side of the chest piece and is commonly used to listen to high-pitched sounds like heart sounds and lung sounds.
Tubing: This is the longest part of a stethoscope that helps transmit the sound from the chest piece to the ear tips.

Step 1: Prepare your environment.
Ensure you are in a quiet room with minimal background noise. Turn the volume down of the appliances in the room like the TV and radio for example.
Step 2: Inspect your stethoscope.
Inspect your stethoscope to ensure its function and condition. Make sure that the tubing is clear and not kinked.
Step 3: Position the patient.
Positioning the patient correctly is crucial when using a stethoscope. it is important to have the patient wear a hospital gown or light clothing that can easily be moved aside to access the patient’s skin.
Ask the patient to either sit or lie in a comfortable position.
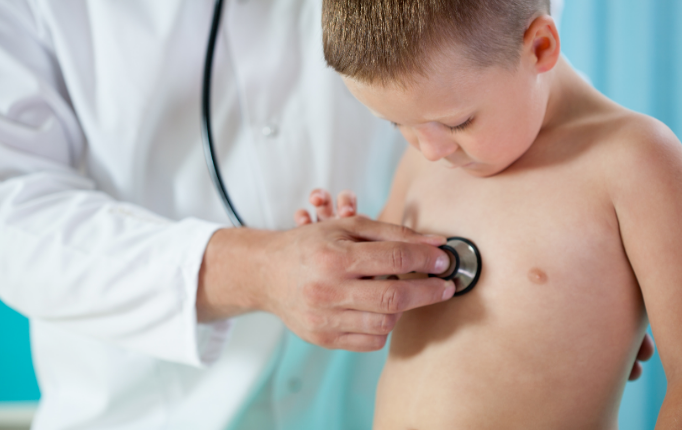
Step 4: Placement of the chest piece.
Heart
The proper placement of the stethoscope for heart sound auscultation is crucial in detecting and interpreting heart sounds accurately. To begin, locate the patient’s heart by palpating the chest wall or following the angle of the ribs:
Second right intercostal space and the fifth left intercostal space along with mid clavicular line to identify the anatomical landmark of the heart.
Second right intercostal space is where you will find the aortic valve sounds.
Fifth left intercostal space is where you will hear the mitral valve sounds.
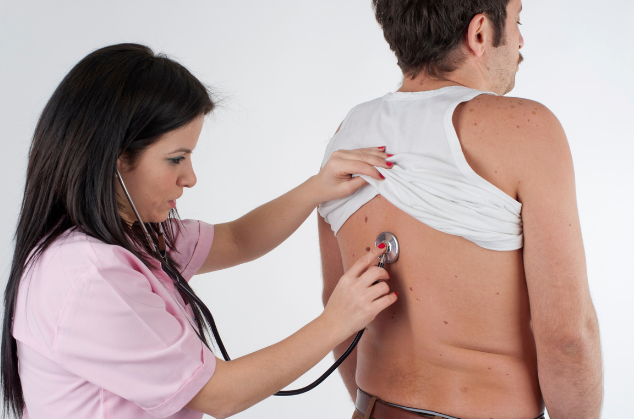
Lungs
When it comes to assessing lung sounds, proper placement of the stethoscope is crucial. Placing the stethoscope properly on the patient’s chest allows for optimal detection of sounds emanating from deep within the lung tissue.
Instruct the patient to take a series of deep breaths, allowing ample time to move the stethoscope between each site to identify lung sounds.
With the stethoscope in place, listen carefully for any abnormal sounds such as wheezing, crackling, or diminished breath sounds. Below are the key landmarks for lung auscultation.
Anterior chest auscultation
Upper lung fields are usually assessed at the Second intercostal space near the clavicle.
Middle and lower lung sounds can be evaluated from the third to the sixth intercostal spaces along the mid-clavicular line and mid-axillary line.
Posterior chest auscultation
Upper lung fields can be heard from the second and fourth thoracic vertebrae
Lower lung sounds can be heard from the sixth thoracic spine down to the tenth thoracic vertebrae.
Abdomen
Abdominal auscultation using a stethoscope may seem like a simple procedure, but it can reveal important information about a patient’s digestive system. After locating the patient’s belly button, place the stethoscope on the patient’s abdomen and instruct them to take a deep breath.
As the patient breathes in and out, listen for any sounds, including gurgling sounds or rumbling, that could indicate air inside the intestines. The patient’s position may also affect the sounds produced during auscultation.
Abdominal quadrant:
begin from the right upper quadrant to the left upper quadrant then go down to the left lower quadrant and finally to the right lower quadrant of the abdomen.
Make sure to listen at least 30 seconds in each quadrant before moving to the next one.

Blood pressure measurement
A stethoscope can also be used to measure blood pressure a.k.a auscultatory blood pressure measurement.
Apply blood pressure cuff
Place the deflated cuff on the patient’s arm, approximately 1-2 inches above the elbow crease.
Locate brachial artery
The brachial artery can be located using your fingers roughly in line with the bottom of the blood pressure cuff. This is where you will place the diaphragm of the stethoscope.
Stethoscope positioning
Position the diaphragm directly over the brachial artery under the blood pressure cuff.
Cuff inflation
Inflate the cuff until it surpasses the expected systolic blood pressure.
Release cuff pressure
Gradually release the air from the cuff at a rate of 2-3 mm hg per second.
Korotkoff sounds
As the cuff pressure drops, you will start hearing the korotkoff sounds through the stethoscope tube. The first korotkoff sounds is the systolic blood pressure and the point at which the sounds disappear represents the diastolic pressure.

Step 5. Insert the earpieces
When it comes to performing auscultation, proper earpiece placement of the stethoscope is crucial to ensure accurate sound delivery and professional medical advice.
The ear tips of the stethoscope should be placed firmly in the ear canal, creating a tight seal that effectively blocks out unnecessary ambient noise, and focuses solely on the patient’s body sounds.
Oftentimes, improper earpiece placement can lead to distorted or inconsistent sound quality, making it harder to hear sounds and diagnose potential health issues.
Step 6. Listen and document
The ability to listen to and make accurate sounds document various sounds in the body is crucial during auscultation. When it comes to lung sounds, we listen for crackles, wheezes, and rhonchi. These sounds can indicate asthma, pneumonia, or other respiratory conditions.
Similarly, we listen for heart sounds such as murmurs, gallops, and clicks which can reveal heart valve issues or other cardiac conditions.
Lastly, documenting abdominal sounds such as bowel sounds bruits, and clicks can provide insight into the digestive system and detect any potential issues. It is important for us to have excellent listening skills and thorough documentation in order to provide our patients with the best possible care.
Tips for success:
Practice regularly to refine auscultation skills
Effective communication with your patients throughout the procedure to ensure their comfort and cooperation
Invest in a high-quality stethoscope for better sound clarity.
Conclusion
In conclusion, understanding how to use a stethoscope is a key component to any healthcare professional’s skillset. By listening carefully to the sounds produced by the heart, lungs, and other organs, medical practitioners are able to diagnose a wide range of conditions.
Whether you are a medical student just learning to use this tool or a seasoned professional looking to brush up on your technique, the tips outlined in this article will help you use a stethoscope effectively. Remember to choose the right size, use the appropriate technique, and practice regularly to ensure accurate readings. With a little practice, you’ll be ready to confidently use this essential tool in your daily practice.
![Stemoscope PRO Digital Stethoscope Review – Best Bluetooth Stethoscope Technology? [2024]](https://nelsonrmarquez.com/wp-content/uploads/2023/10/up-1-768x432.png)


![Easy Cardiac Assessment 101: Getting to Know Erb’s Point [2024]](https://nelsonrmarquez.com/wp-content/uploads/2023/10/2-2-768x432.png)
